Using Rotary Encoders for Motor Control with Arduino
What is Rotary Encoder?
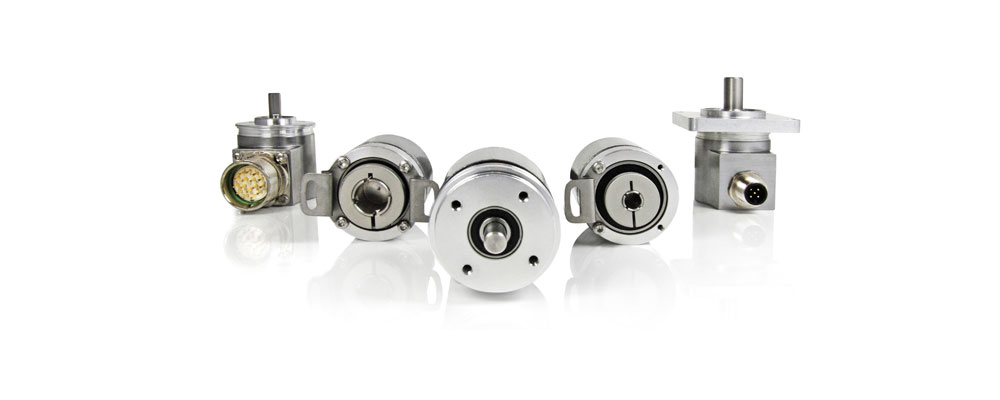
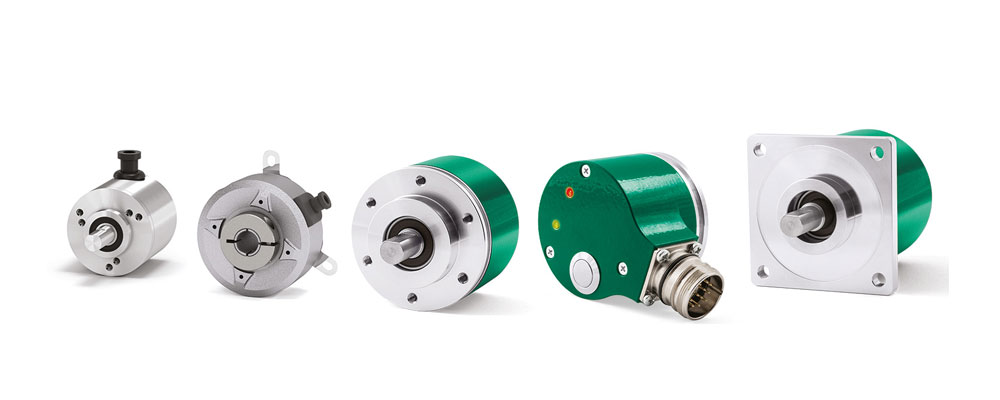
A rotary encoder is a device that converts the rotational motion of an object into digital signals. It typically consists of a rotating disc or Shaft Encoders with patterns of notches or slots and a sensor that detects the changes in position as the disc rotates. The sensor generates electrical signals corresponding to the rotational movement, which can be used to measure and track position, speed, and direction. Rotary encoders are commonly used in various applications, such as robotics, industrial machinery, computer input devices, and automotive systems, to provide precise and accurate feedback about the rotational movement of an object.
Rotary Encoder With Arduino
Using a rotary encoder with Arduino is a straightforward process. Here are the general steps to follow:
Connect the rotary encoder to the Arduino:
Connect one of the encoder pins (commonly labeled A or CLK) to a digital input pinmode on the Arduino.
Connect the other encoder pin (commonly labeled B or DT) to another digital pin.
Connect the encoder’s common pin (commonly labeled GND or COM) to the Arduino’s ground (GND) pin.
Some rotary encoders also have a built-in push-button. If desired, connect the button pin to a digital input pin on the Arduino.
Initialize the pins:
In your Arduino sketch, define the pins you connected the encoder to as input pins using the ‘pinMode()’ function.
Read the encoder values:
Use the ‘digitalRead()’ function to read the state of the encoder pins (A and B) to detect changes in rotation.
you can discover the rotation direction of a rotary encoder and perform the necessary actions in your code.
Handle the push-button:
If your encoder has a built-in push-button, use the ‘digitalRead()’ function to read its state.
You can use the button state to trigger specific actions or functions in your Arduino program.
Implement your desired functionality:
Based on the rotation and button inputs, implement the desired functionality in your Arduino sketch. This could include controlling motors, adjusting settings, or navigating menus.
What is Arduino?
Arduino is a comprehensive open-source electronics platform that encompasses both hardware and software components. It offers a simplified and accessible approach for individuals, including hobbyists, students, artists, and professionals, to develop interactive projects and prototypes.
The platform includes an integrated development environment (IDE) that allows users to write, compile, and upload code to Arduino boards. Arduino codes typically written in a simplified version of the C/C++ programming language, providing an accessible starting point for beginners.
Arduino boards make it straightforward to connect a wide variety of electronic components, including sensors, actuators, displays, and communication modules.
Introduction to Arduino and Its Compatibility with Rotary Encoders
Arduino is an open-source electronics platform that consists of both hardware and software components. It provides a user-friendly and accessible platform for beginners and professionals to create interactive projects. Arduino boards feature input and output pins that allow for connections with various electronic components, including rotary encoders.
Rotary encoders are devices used to measure and track rotational motion. They can provide position, speed, and direction feedback. Arduino boards can easily interface with rotary encoders, enabling precise control and monitoring of rotational movements. Connecting the rotary encoder to Arduino’s digital input pins enables Encoder position change detection and corresponding action in the code.
Arduino IDE enables users to customize and control the rotary encoder’s functionality by writing and uploading code to the board. Arduino’s consistency with rotary encoders makes it a popular choice for various applications such as motor control, robotics, and user interfaces.
Benefits of Using Arduino in Motor Control Applications
Arduino is a popular platform for motor control applications, as it provides a wide range of benefits for users. Here are some of the main benefits of using Arduino for motor control:
I. Arduino is beginner-friendly with a simplified programming language and user-friendly IDE, enabling easy starting of motor control projects.
II. The Arduino community provides sample motor control resources, enable the use of pre-existing code and examples for time-saving convenience.
III. Arduino boards offer flexibility and climbable, allowing easy custom-make, and expansion to meet the specific needs of motor control applications. They can be seamlessly integrated with various sensors, actuators, and hardware components to create intricate and personalized systems.
IV. Arduino boards are cost-effective compared to other microcontroller platforms, making them an appealing choice for budget-constrained motor control projects. Additionally, their easy Improving and switchable provide further flexibility without substantial financial investment.
Connecting a Rotary Encoder to Arduino
Required Components and Tools
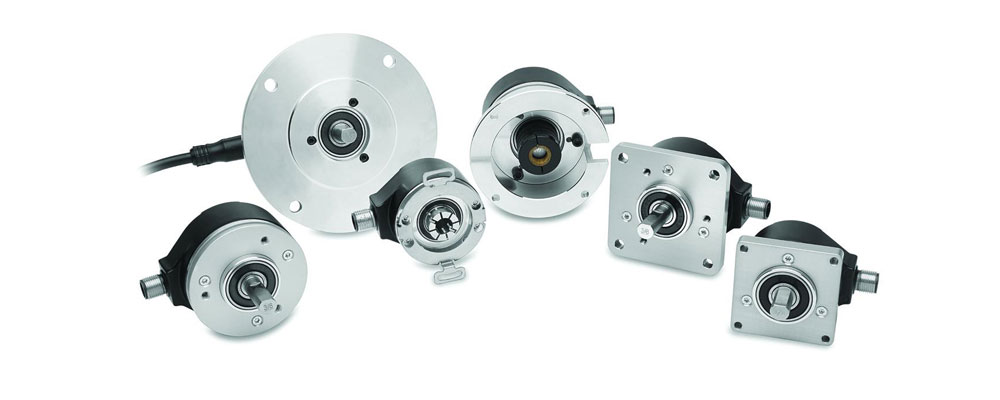
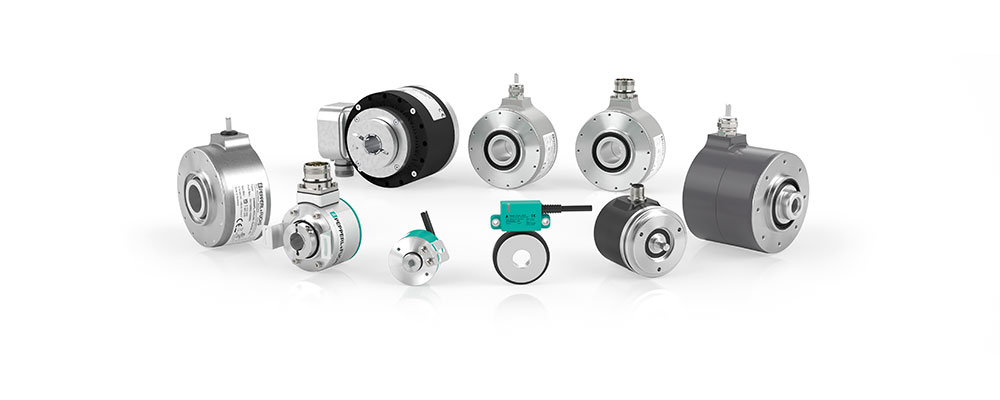
I. Choose the appropriate rotary encoder based on factors like resolution, type (incremental and absolute encoders), and mounting options. Ensure suitable with the Arduino board in terms of output signals and voltage levels.
II. Choose an Arduino board that matches your project’s requirements, considering factors like I/O pins, memory capacity, and processing power.
III. Utilize a breadboard or prototyping board for temporary connections between the rotary encoder and Arduino, simplifying change and debugging.
IV. Obtain appropriate jumper wires (male-to-male or male-to-female) to establish connections between the rotary encoder and Arduino board.
V. Incorporate pull-up or pull-down resistors to ensure reliable signal transmission between the encoder and Arduino, based on voltage levels.
VI. A suitable power supply is available for the Arduino board and other components in your system, such as motors or sensors.
VII. Have a computer with the Arduino Integrated Development Environment (IDE) installed to write, compile, and upload code to your Arduino board.
Importance of Motor Control in Various Applications
Motor control is crucial in various industries and applications, enabling precise speed and position control for consistent and high-quality output. It is used in manufacturing, robotics, packaging, medicine, aerospace, and transportation. Rotary encoders provide accurate position and speed feedback, ensuring efficient and reliable motor control.
They are vital for controlling material movement, equipment positioning, and maintaining precise control of surgical instruments, aerospace components, and vehicle speed. Motor control, with the assistance of rotary encoders, optimizes processes, minimizes errors, and achieves desired outcomes in diverse sectors.
How to Attach Rotary Encoder to Motor
To attach a rotary encoder to a motor, you typically need to connect the encoder to the shaft of the motor. Here is the process:
Choose the appropriate rotary encoder:
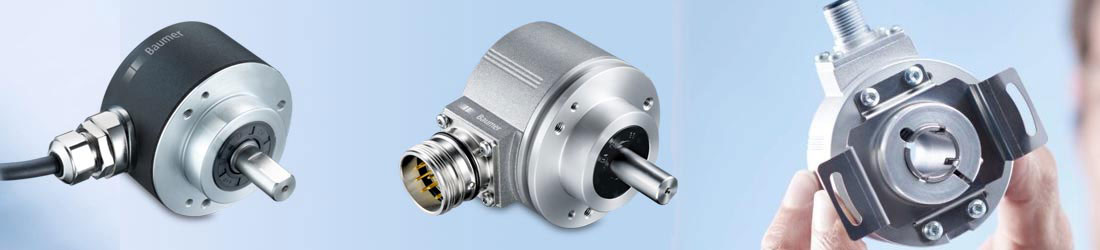
Choose a rotary encoder that meets your application’s specifications, including resolution, and is adaptable to the motor shaft size.
Mount the rotary encoder:
Position the rotary encoder near the motor shaft in a suitable location.
Secure the encoder using mounting brackets, screws, or other suitable methods.
Connect the rotary encoder to the motor shaft:
Ensure that the rotary encoder and motor shaft are properly aligned.
Connect the rotary encoder to the motor shaft using a coupling mechanism such as a flexible coupling or a rigid coupling.
The specific coupling mechanism will depend on the type and size of the motor shaft and the encoder’s shaft.
Ensure proper alignment and stability:
Verify that the encoder and motor shaft are aligned and securely connected.
Make any necessary adjustments to ensure proper alignment and stability of the coupling.
Wiring and electrical connections:
Connect the encoder’s output signals to the appropriate input pins on your control system, like an Arduino or motor controller.
Connect the common (GND) pin of the encoder to the ground (GND) of the control system.
Verify functionality:
Test the encoder-motor setup by rotating the motor shaft and observing the changes in the encoder’s output signals.
Use appropriate code or software to read and interpret the encoder signals for position feedback or control purposes.
Consult the datasheets or documentation of your rotary encoder and motor for specific requirements and recommendations during the attachment process. The method of attaching the encoder to the motor may vary based on their respective designs.
Conclusion:
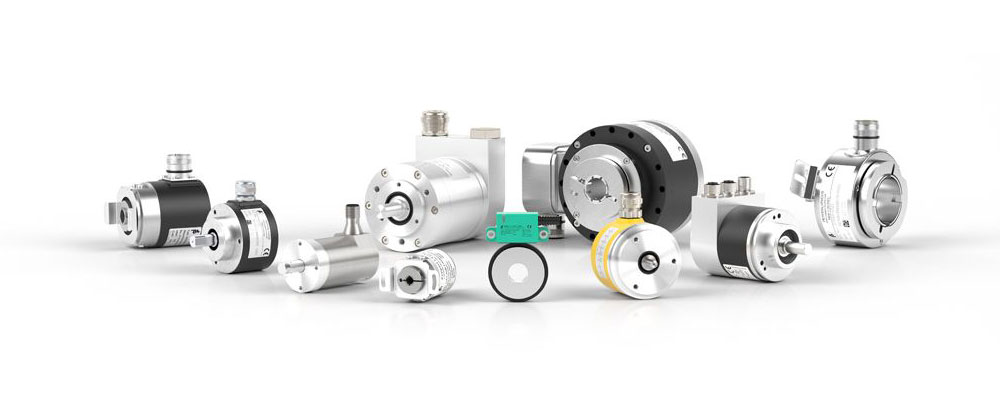
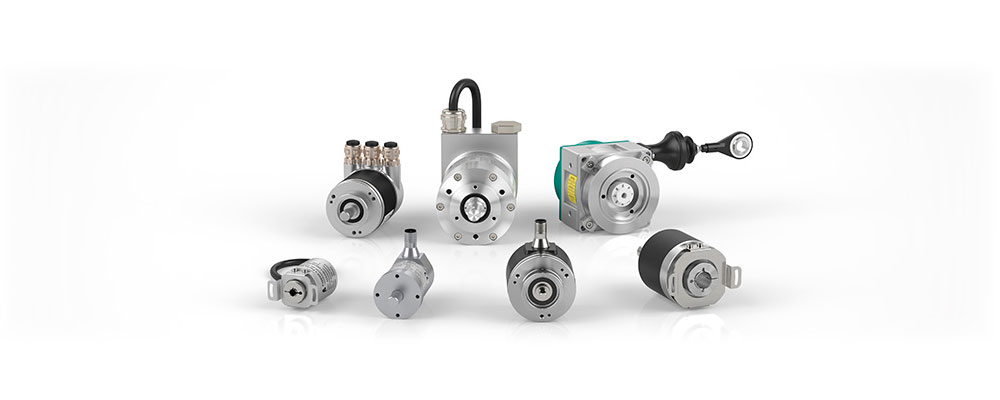
In conclusion, rotary encoders are versatile devices used to measure and track rotational motion. There are two main types: absolute and incremental encoders. Absolute encoders provide direct and precise position feedback without referencing,
while incremental encoders offer relative position feedback through pulses generated with shaft rotation.
Rotary encoders can be used with Arduino for various applications, such as motor control and menu navigation. They are crucial in applications requiring accurate position tracking and control, including robotics, industrial control, and automation systems. they are connected to digital input pins for detecting rotation and button inputs, enabling precise position tracking and control.
Safety precautions should always be followed when working with motors and electrical systems. By understanding and properly utilizing rotary encoders, one can enhance the functionality and accuracy of their projects.